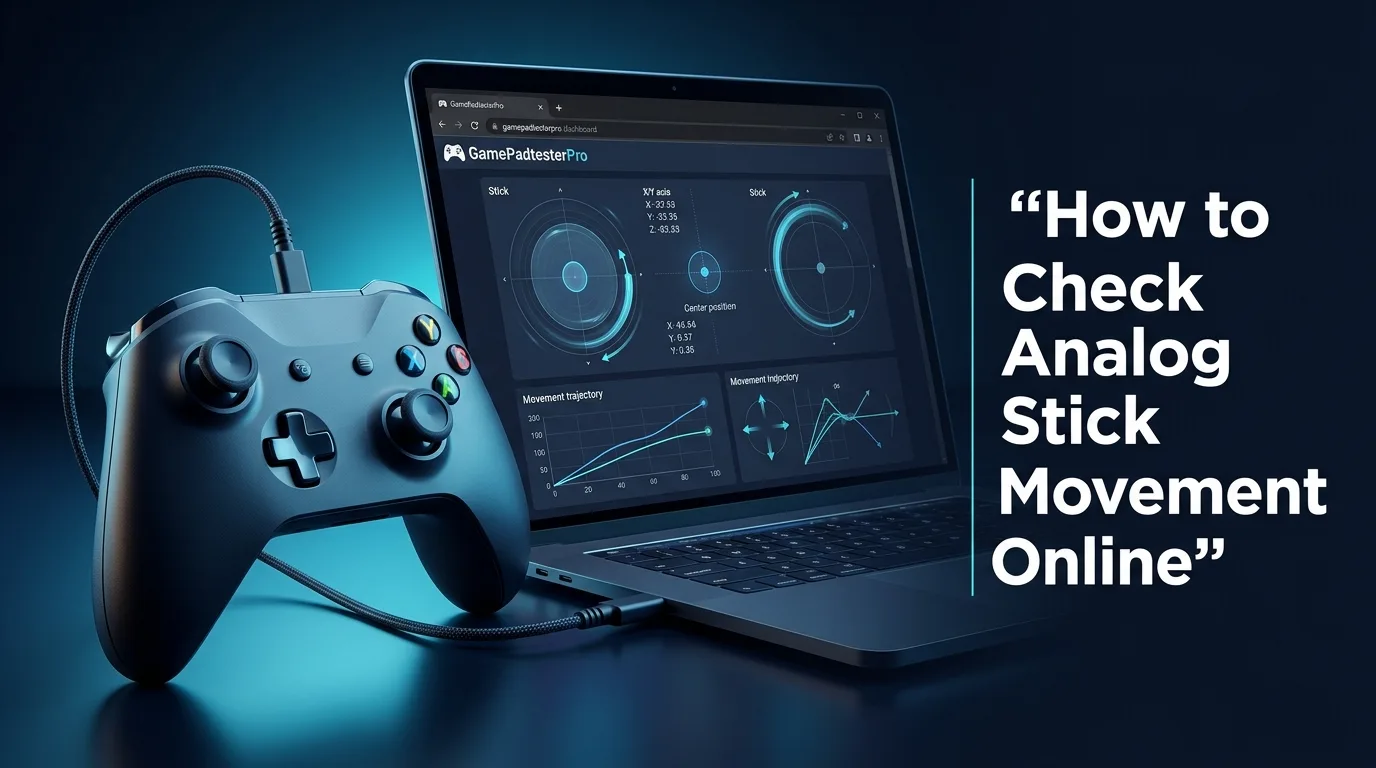
How to Check Analog Stick Movement Online — Use live Gamepad API readings to answer a specific controller question, with clear next steps instead of generic filler. Open the matching Gamepad Tester panel, take two quiet samples, and write down the worst reading before you decide to clean, repair, or keep playing.
Online controller test tools compete on speed. Gamepad Tester competes on clarity: connect once, run the right panel, and leave with a repair-or-keep decision for joystick test.
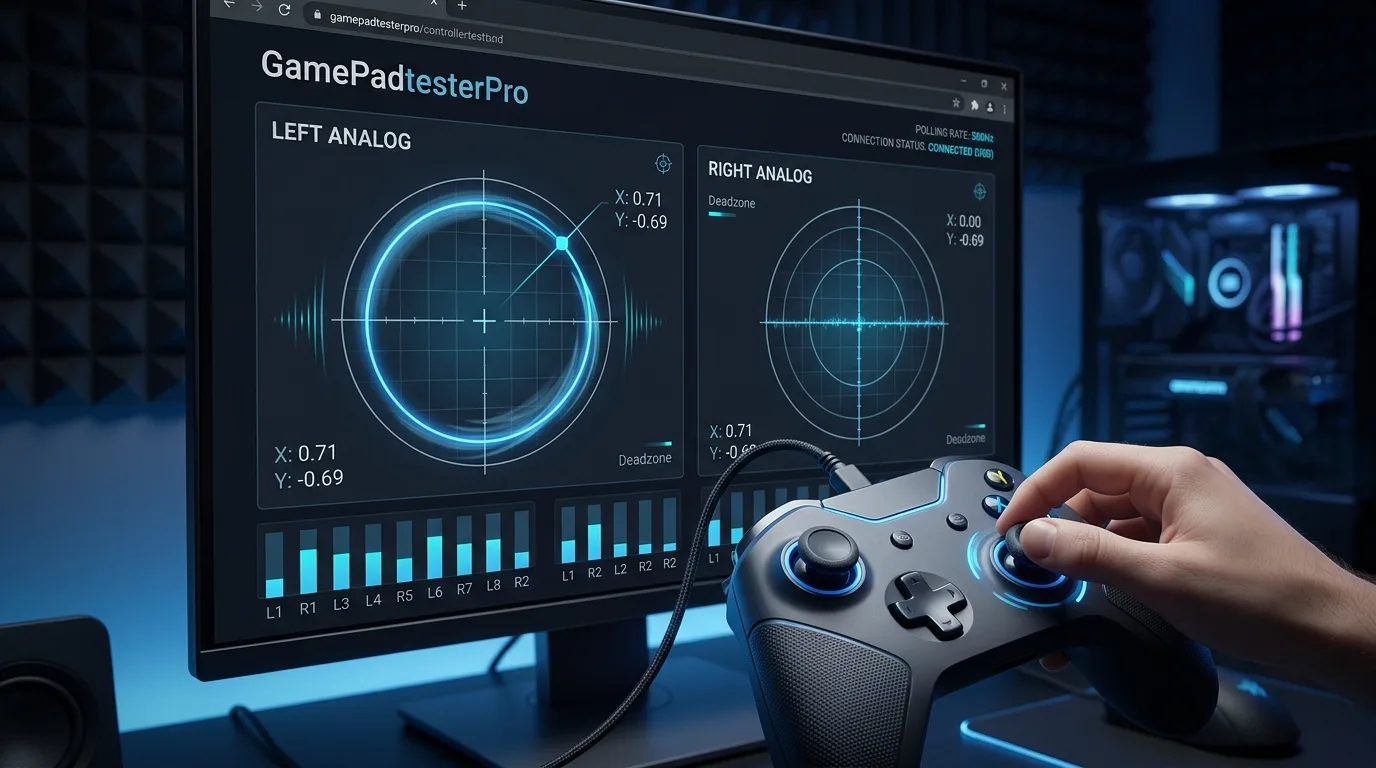
Visual reference for the values you will watch.
Which outcomes should you leave with?
You will set up detection, run the focused checks for this topic, interpret the live panels, and decide what to do next. Keep the session simple: one controller, one browser tab, and a clear goal for the check you are running.
- How to wake browser detection reliably
- Which Gamepad Tester panels matter for this intent
- How to avoid false positives
- What to try if results look unhealthy
Which connection rules come first?
Use a desktop browser with Gamepad API support such as Chrome, Edge, or Firefox. Connect with USB for the cleanest baseline, or finish Bluetooth pairing in the OS first if you must test wireless. Close games, Discord overlays, and exclusive capture tools that can lock the device. Open Gamepad Tester or a focused tool below, then press any button so the browser wakes detection.
Recommended tools for this topic:
How should you execute this check?
- Connect the controller with USB or finish OS Bluetooth pairing.
- Open the matching Gamepad Tester tool from the list in this article.
- Press any button to make the browser list the device.
- Confirm name, mapping, button count, and axis count on the status card.
- Run the focused checks described below for this topic.
- Retest once over USB if wireless results look unstable.
Keep the tab visible while testing. Some browsers throttle background pages.
Which panel signals matter most?
Look for clean pressed and released states, smooth stick travel, sensible trigger range, and rumble only when the browser exposes an actuator. Missing rumble in the browser is not always broken motors. Take two or three samples a few minutes apart if the first reading surprises you. Consistency across samples matters more than a single scary spike.
Browser testers show what the Gamepad API exposes. A healthy reading is a strong signal, but it does not guarantee every native title will feel identical. On DualSense, Gamepad Tester can also use optional WebHID checks for touch pad drawing, adaptive trigger feel, speaker beep, and a simple PDF activity report when Chrome or Edge grants access over USB. Pair this page with Stick Drift Test, Vibration Test, and when you need permanent stick center or range writes, PS4 / PS5 Calibration.
What can the home dashboard check today?
The homepage Gamepad Tester and brand controller pages (PS5, PS4, Xbox, PC, USB, Bluetooth, arcade, flight) share one live dashboard. You get up to four controller slots, live sticks with circularity view, buttons, triggers, vibration pulses, optional DualSense touch pad and adaptive trigger checks, speaker or beep tests when supported, and a downloadable PDF summary after you exercise the pad.
- Four Gamepad API slots so a second, third, or fourth pad can connect without leaving the page.
- Stick reach / circularity visuals plus idle drift and deadzone explorers on focused tools.
- USB WebHID stick calibration for official DualShock 4 and DualSense pads when you need to write center or range after a module swap.
- Honest limits: browser rumble is not every native haptic, and Gamepad API alone cannot rewrite firmware maps.
What setup traps should you avoid?
- Skipping the reconnect after a flaky first reading.
- Mixing two controllers without noting which pad was active.
- Expecting adaptive triggers or vendor haptics in basic Gamepad API views.
Do not skip the reconnect step. Many flaky reports clear after a fresh plug in.
How should PC players connect for cleaner results?
On Windows, prefer a direct USB cable for first checks. If wireless is required, confirm the OS sees the pad before blaming the tester. Update controller firmware with official maker tools when available. After any repair, retest buttons, sticks, triggers, and rumble in that order. If the device never appears, start at Controller Detection before you open deeper panels.
Document your browser, connection type, and controller model when asking for help. That detail saves time. If results conflict between browsers, trust the clearer desktop Chromium session over a mobile browser.
What is the next hardware choice?
If detection fails entirely, fix connection first. If detection works but one control family fails, focus repair there instead of replacing the whole pad immediately. When in doubt, capture a short note with date, browser, connection type, and the worst idle or button value you saw.
Used purchases deserve a full pass before the return window closes. Document date, browser, and the worst reading you saw.
How should you log controller tests like a lab?
Treat each retest like a lab notebook entry: date, cable vs wireless, browser build, and worst idle or button hang.
What are the most common questions?
Is an online tester accurate enough?
It is accurate for what the browser exposes, which is enough for most input and drift checks.
Do I need drivers?
Usually the OS already provides what the browser needs. Official firmware tools are separate.
Will this work on phones?
Support varies. Desktop browsers are more reliable.
How is this different from a basic gamepad tester?
You get the live tester plus a decision checklist, related tool links, and guidance for used buys and repairs.
Related Gamepad Tester guides
- How to Test Analog Sticks on a Controller
- How to Test a Controller for Stick Drift
- What Is Controller Stick Drift? Causes, Symptoms & Test
How do you keep diagnosing after this page?
Use the linked testers above, then compare with the homepage Gamepad Tester (four slots + DualSense extras), Stick Drift Test, Deadzone Test, Vibration Test, and PS4 / PS5 Calibration when you need WebHID stick writes after a hardware swap. Keep notes of idle magnitude, button indexes that fail, and whether USB behaves better than Bluetooth.
Bookmark the tools linked above and reuse them whenever joystick test comes up again after travel, repairs, or a used purchase.
How to read X and Y values while you move the stick
Watch the X value for left and right movement and the Y value for up and down movement. On the Analog Stick Test, a centered stick should sit near 0.00 on both axes, while a full push should approach 1.00 or -1.00 in the direction you are pressing. Move slowly at first so you can see each small step, then move faster to check whether the numbers jump, freeze, or skip. If the numbers change smoothly, the stick is reporting its position cleanly. If they leap from 0.20 to 0.80 with no values in between, note that direction, because it may feel twitchy in aiming or camera control even when the stick still reaches full range.
How to test full range, diagonals, and return to center
Start with the stick centered and untouched, then push it slowly to each edge: up, down, left, and right. After each edge, let go and watch whether both values return close to zero without lingering on one side. Next, trace a slow circle around the rim and check the circularity view on the Analog Stick Test. A healthy stick draws a fairly round shape, while a worn stick may flatten on one side or cut a corner. Finish with the four diagonals, because a stick can feel fine on straight pushes yet lose range or wobble when two axes move together. Record any direction that stops short of full range, sticks briefly at the edge, or snaps back past center.
How to spot drift, deadzone problems, and a sticking stick
Leave the stick untouched for 20 to 30 seconds and watch the idle numbers on the Stick Drift Test. A small, steady offset may be normal for a worn pad, but a value that keeps creeping in one direction, or that is large enough to move a character or camera on its own, points to drift. Next, move the stick only a tiny amount and note how far it must travel before the game or tester responds. If you must push a long way before anything happens, the deadzone may be too large for fine aiming. Finally, flick the stick and release it quickly. It should settle at center, not hang near an edge or bounce between two values. Clean around the stick base first if dust is visible, then retest before deciding on a repair.
How to compare the left and right sticks fairly
Test one stick at a time, using the same slow circle, the same four edges, and the same four diagonals. Keep the controller in the same hand position, because tilting the pad can change how far your thumb naturally pushes. On the Gamepad Tester dashboard, check whether both sticks reach similar maximum values and return to a similar center. A small difference is not automatically a fault, especially on an older controller, but a large gap in one direction deserves a second test over USB. Write the two sets of numbers side by side, so you are comparing measurements rather than impressions from different play sessions.
How to check stick movement for aiming, driving, and camera control
Different games punish different faults, so test the movement you actually use. For aiming, make tiny, slow adjustments and check whether the crosshair or camera moves in small, predictable steps rather than jumping. For driving, hold a steady partial turn and see whether the value stays stable instead of wandering toward full lock. For camera control, sweep the stick in a smooth arc and watch for flat spots where the camera pauses even though your thumb is still moving. If a fault appears only in one game, retest in the browser first: a clean browser result points to in-game sensitivity or deadzone settings, while a fault that also appears in the Analog Stick Test points back to the hardware.
What to do when movement looks uneven, jumpy, or reversed
Start with the simplest causes. Reconnect over USB, try another port or cable, and close other programs that might hold the controller. Then repeat the failing direction slowly. If up feels weaker than down, or left feels weaker than right, note the exact axis and direction. A reversed axis is usually a mapping or game setting issue, not a worn stick, so check the status card and the game's input settings before opening the controller. If movement is jumpy in every program and over USB, the stick module or its connection is the likely cause, and the next step is cleaning, professional repair, or replacement rather than another software tweak. For PlayStation pads, the PS4 / PS5 Calibration tool can help you judge center and range, but it cannot fix a physically damaged module.
More questions about checking analog stick movement
Why does my stick show a small number at rest?
A tiny idle offset can come from a worn center, a stick that was not centered when the browser first detected it, or a small deadzone difference. Reconnect the controller with the stick untouched, then check the idle value again on the Stick Drift Test. If the number is stable and small, and no character moves on its own, it is usually safe to keep using the pad while you watch for change over time.
Why does one direction reach less than full range?
A direction can fall short because the stick hits its housing unevenly, because dust limits travel, or because the module is worn on that side. Test that direction slowly on the Analog Stick Test and compare it with the opposite direction. If the shortfall is large and repeatable over USB, try cleaning around the base first, then decide whether repair or replacement is more sensible than living with reduced range.
Can an online test fix stick drift?
No, a browser test cannot repair a worn module, but it can separate a settings problem from a hardware problem. Use the Deadzone Test and the Stick Drift Test to record idle values and center behavior, then adjust in-game deadzone settings only if the browser readings are clean. If the browser also shows steady drift, a setting change will only hide the symptom, not restore the center.
Does a wireless connection change stick movement readings?
Wireless play can add jitter or occasional dropped updates, which may look like jumpy movement in a short test. That is why a clean USB retest matters: if the same fault appears over a cable, it is more likely hardware, while a fault that disappears over USB points to connection quality, battery level, or interference. Always note cable versus wireless in your test log so the two results are not mixed up.
Should I test both sticks even if only one feels wrong?
Yes, because the healthy stick gives you a fair baseline on the same controller, browser, and connection. Run the same circle, edges, and diagonals on both sides using the Gamepad Tester dashboard or the Analog Stick Test. If only one stick fails, the fault is likely local to that module. If both behave oddly, check Controller Detection, the cable, and the browser first before blaming the controller.
Comments
Comments are moderated. New comments stay hidden until an admin approves them.
No public comments yet. Be the first to leave a helpful note.